


|
Recover Photos from DSLR Camera
Did you lose the photos that were present on your professional DSLR camera? Digital Photo Recovery software makes photo recovery from professional digital cameras easy
Recover photos deleted, lost from DSLR cameras using Digital Photo Recovery software
Download the Digital Photo Recovery software Now and evaluate your chances of recovery
Digital Photo Recovery
Scan
Select
Recover

Usage of professional DSLR cameras is common among professional photographers and less common among amateur photographers. Professional digital cameras are preferred by photography enthusiasts due to the very fact that it produces high quality images. Most of the manufacturers of DSLR cameras like Nikon, Canon, Sony etc, have customized specific file formats in which images get stored. For example, Canon cameras make use of the CRW and CR2 file formats for storage of images. This is done to maximize the image quality, which is not possible on other formats like JPG, JPEG, GIF, BMP etc.
However, there is no difference in terms of the storage media made use of by low end digital cameras and professional DSLR cameras. Since professional DSLR cameras too make use of memory cards for storage of the captured images, the chances of the photos getting lost or deleted is the same as in the case of low end digital cameras. Although the number of photo recovery software available for recovery of photos in formats like JPEG, JPG, GIF, etc outnumber the software available for recovery of RAW images, some professional photo recovery software do support recovery of photos in RAW file format.
When it comes to RAW image recovery, it is always best to go for the best photo recovery software, since photos in RAW format occupy considerably more memory space as compared to photos in other image formats. Picture file restoration software is a professional photo recovery tool, which can recover images from professional digital camera of various brands (know more on https://www.digitalphotorecovery.org/camera/) and restore RAW images in various formats like CR2, CRW, NEF, ARW etc, with ease by performing Kodak camera picture recovery, Nikon camera picture recovery etc..
Losing images from high end digital cameras just because of simple Deletion or corruption small memory chip equipped with it is a heart breaking situation for any users. In such cases make use of digital photo recovery software provided with cutting edge features to restore deleted images from digital camera on both Windows and Mac operaing system. Read more. It performs through scanning of the memory card to get back deleted photos that lie too deep.
Easy steps to Recover Photos from DSLR Camera:
Step 1: Install the demo version of the app and select "Recover Photos " option as shown in Figure 1.
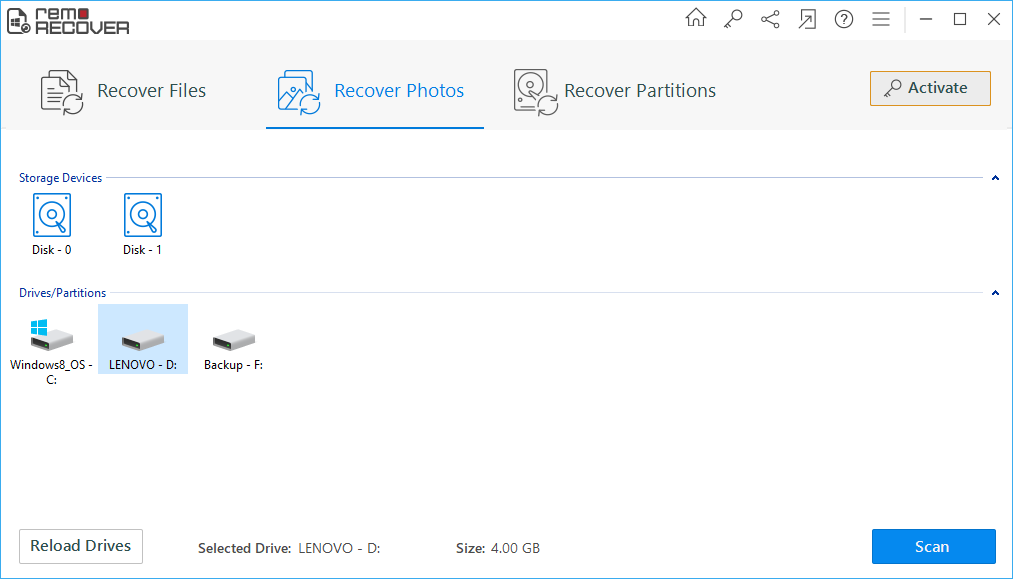
Figure 1. Main Window
Step 2: Now select either of the option and choose the drive from where you want to recover your data shown in Figure 2
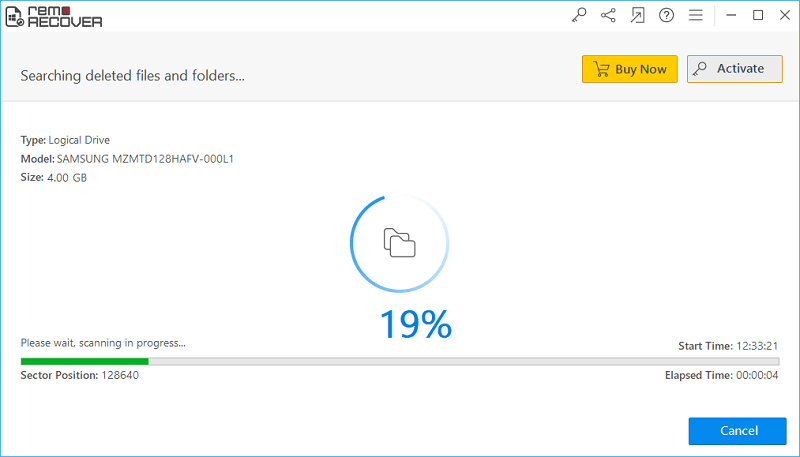
Figure 2. Select Recover Lost Photos option
Step 3: Select the files, preview it and save it back after scan
Figure 3. Preview File

![]()
