


|
How to Recover Digital Photos from Trash?
Did you accidentally delete all the photos and empty the Trash? Dont worry!!
Yo can easily restore digital pictures from Trash by making use of Digital Photo Recovery software
Digital Photo Recovery software lets you know how to recover digital photos from Trash within a few clicks of mouse
Download Digital Photo Recovery software Now
Digital Photo Recovery
Scan
Select
Recover

There are different views that are expressed by experts in the data recovery field, regarding the different methods in which we can recover photos that we believe have been lost permanently. A lot of it is however dependent on the way in which the photo has been deleted or lost. For example, if you have just trashed the photos on your Mac, you can just go to the folder and select the Put Back option, to restore digital pictures from Trash.
However, this is not the case in all photo loss scenarios. There are instances when you might trash some valuable photos, and then later go on to empty the trash. Although the photos in the Trash are not erased immediately, further Read/Write operations on the hard drive might permanently delete the photos from the drive, making it impossible to recover the trashed photos. In such complex photo loss scenarios, it is always best to get for yourself, a good and trustable photo recovery software which can easily retrieve digital photos from Trash.
Using this tool it is even possible to perform RAW image restoration, the image format that is created by digital cameras. The tool has advanced scanning algorithms to scan and recover digital photos from Trash. It comes in a free evaluation version which can be downloaded and ckecked for recovery. The tool has wizard style interface that helps you how to recover digital photos from Trash in few simple steps. Even a tech novice can operate it very easily. To know the process of recovering digital photos from a corrupted memory card, you can go through here.
Having a copy of all your valuable photos can definitely avoid the trouble of having to buy a photo recovery software, but in case a backup copy of your photos is not present, it is always better to make use of a good photo recovery software for digital picture recovery from Trash. Digital image files undeleting utility lets you recover photos even after the Trash has been emptied. This photo recovery software supports over 25 image file formats. The in-built Preview option lets the user evaluate the chances of recovering digital photos from Trash, which can be of great use in the Demo Version of the software. This is the best tool available in the recovery market using which you can perform efficient recovery of deleted or lost data on your Mac operating system. Visit here to know mre about it.
Steps to recover digital photos from Trash
Step 1: Download and install the software on your Mac system. Then launch the tool and select "Recover Photos " option as shown in Figure 1 to restore digital pictures from Trash.
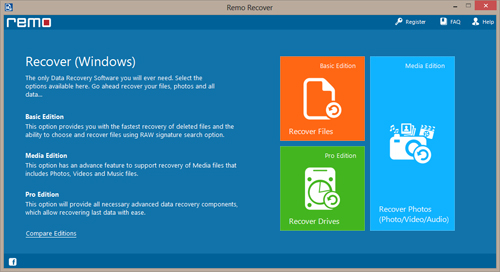
Figure 1. Main Window
Step 2: Choose "Recover Deleted Photos" and proceed to select the drive from where you deleted the images in Figure 2
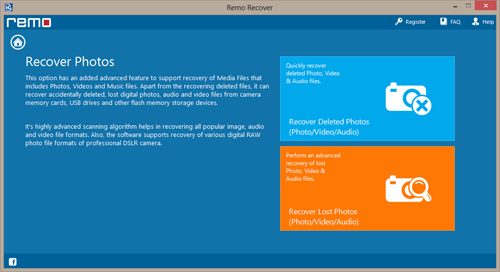
Figure 2. Select Recovery Mode Option
Step 3: After digital picture recovery from Trash, you can Preview the recovered photos using "File Type View" option and then "Save" the image files on desired location.
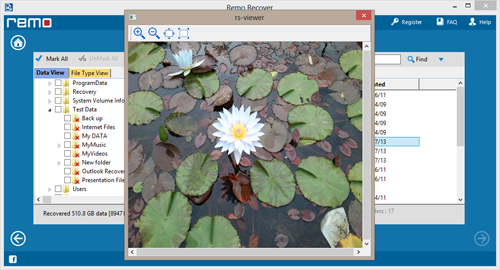
Figure 3. Preview File

![]()
