


|
How to Recover Digital Photos on Windows?
Have you lost the precious photos of your new born from your Windows system?
Digital Photo Recovery software is a professional photo recovery software that can rescue all your lost photos
Digital Photo Recovery software lets you recover digital photos on Windows from both low end digital cameras, and professional DSLR cameras easily
Download and Try Digital Photo Recovery software Now
Digital Photo Recovery
Scan
Select
Recover

With the arrival of digital cameras that made use of the memory card for storage of photos, the user had to worry no more about limit up to which he could click photos. With flash memory cards supporting large memory capacity, the user had the freedom of taking unlimited number of photos. This meant that the user could keep clicking photos using his digital camera and then transfer to Windows or Mac system, and later decide on which ones to keep and which ones to delete.
The ease with which the user could delete the unwanted photos, also made photo loss very frequent among digital camera users. This problem arises when the user accidentally deletes the wrong photo or when he formats the memory card on Windows system which results in loss of photos from the Windows system. In such cases, the user usually gets tensed and tries out some unconventional methods to recover digital photos on Windows, resulting in permanent erasure of the photos from the system. Visit this link to know more about RAW image recovery.
Permanent erasure of photos can be avoided if the user is a bit more careful in dealing with the photo loss situation. Digital picture recovery on Windows, is a simple process, which can be done easily even by a novice, provided that you take the necessary precautions and make use of a trustworthy photo recovery software. Photo file retrieval software is a customized to restore pictures after format error, resulting in deletion or lost pictures. This utility helps you in digital picture recovery on Windows and Mac OS. It simple, easy and fast recovery process to retrieve digital photos on Windows system.This photo recovery software makes use of an advanced file search algorithm for locating and recovering digital photos on Windows system. This advanced application has simple GUI that provides onscreen instructions to know how to recover digital photos on Windows. Moreover, it can also undelete corrupted Flash memory card pictures with utmost ease. Get more information here.
Steps to know how to recover digital photos on Windows:
Step 1: Download and install the software on your Windows system. Then launch the tool and select "Recover Photos " option as shown in Figure 1 to restore digital pictures on Windows system.
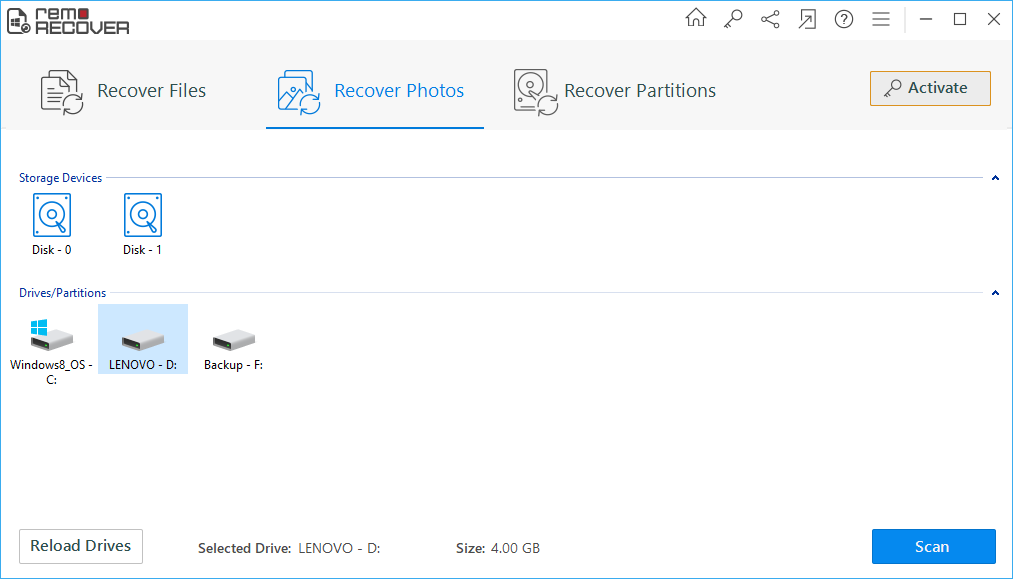
Figure 1. Main Window
Step 2: Choose "Recover Deleted Photos" or "Recover Lost Photos" option to retrieve lost or deleted photos on Windows system.
Figure 2. Select Recovery Mode
Step 3: Now select the drive from which you need to retrieve digital photos on Windows and then click on next arrow button to start the recovery process.
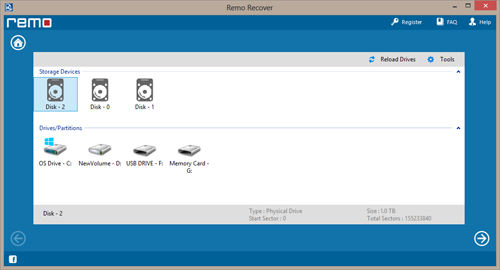
Figure 3. Select Drive
Step 4: After completion of recovery process, you can view the recovered photos using "Preview" option, and then "Save" the photos on desired location.
Figure 4. Preview Photos

![]()