


|
Recover Photos Lost from iPod
Did you lose valuable photos of your iPod?
IPod Recovery software is best tool to recover all your lost photos, music and video files
Download and Try iPod Recovery software Now
Digital Photo Recovery
Scan
Select
Recover

IPods are the portable media players that are used widely these days. These devices are designed by Apple and have a wide range of models, which include iPod Classic, iPod Shuffle, iPod Mini, iPod Nano and iPod Touch. All these devices use a special software i.e. iTunes to transfer music, photos, videos and other data to the devices from computers or laptops.
As everyone uses these iPods there is a high probability of losing data from it. Several causes, which may result in photo loss from these iPods include
- IPod may be frozen
- Removal of battery from the iPod
- Resetting iPod to default factory settings
- IPods Crashes / software malfunction
- Firmware update failure
- Formatting or re-formatting the iPod
- Accidental deletion of photos from the iTunes folder
- Corruption to the files when auto synced to a different PC / laptop
To restore pictures from a corrupted memory stick, go through this link.
Digital image files recovery application is the best iPod recovery software that helps you recover lost digital photos, music and video files from iPod & RAW image recovery from digital cameras with utmost ease. In order to increase the chances of photo recovery, avoid uploading any new photos, songs and videos on the iPod, once you have noticed that you have lost your photos.
You can follow the below steps, to recover all the lost / deleted photos from the iPod on Windows OS. Click here to recover photos on Mac OS.
Step 1: Connect the iPod to a healthy PC on which the Digital Photo Recovery Software has already been installed. Launch the application by selecting it from the Programs Menu or by double clicking the desktop shortcut. The main window gets displayed, select the "Recover Photos" option as shown in Figure 1
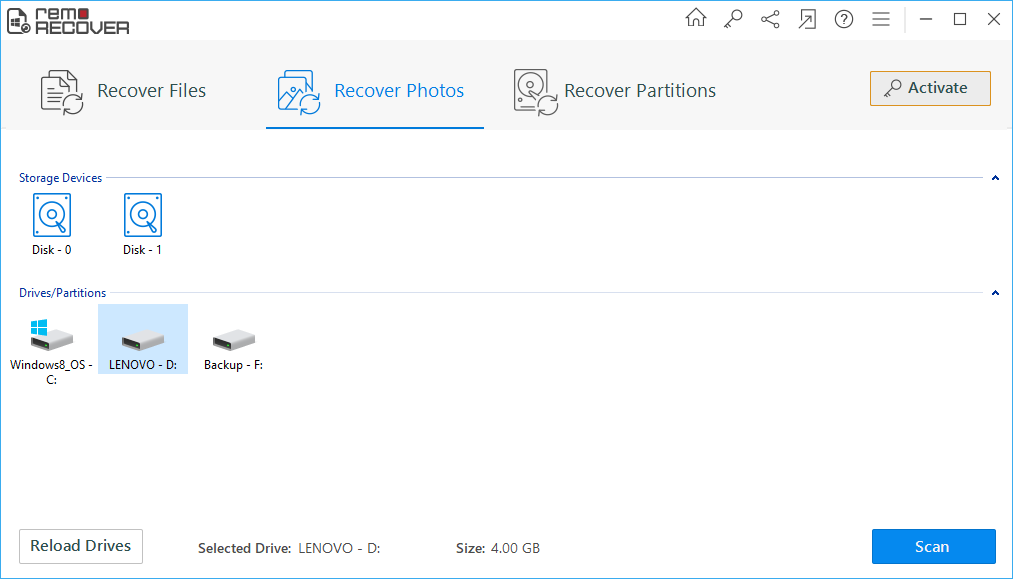
Figure 1. Main Window
Step 2: Select the iPod that is displayed as a logical drive from which you want to recover digital photos as shown in Figure 2
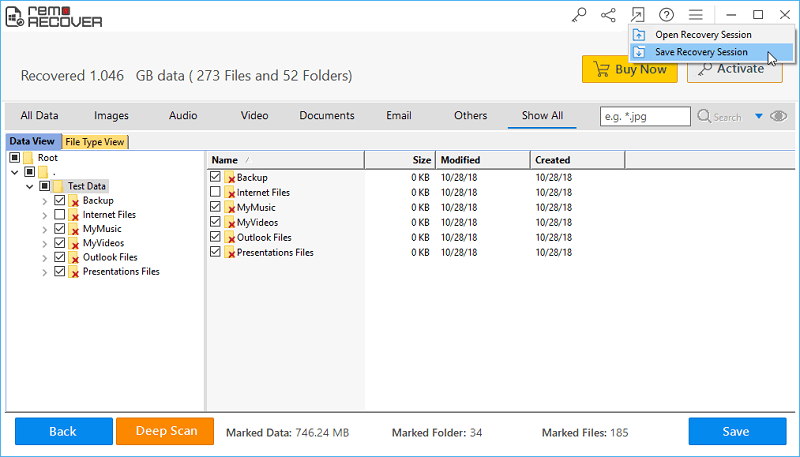
Figure 2. Select Logical Drive (iPod)
Step 3: The software lets you perform an additional search for digital photos by selecting the file types that are listed, based on their unique signatures, as shown in Figure 3. You can either use "Skip" option to skip this step and proceed with the scanning process
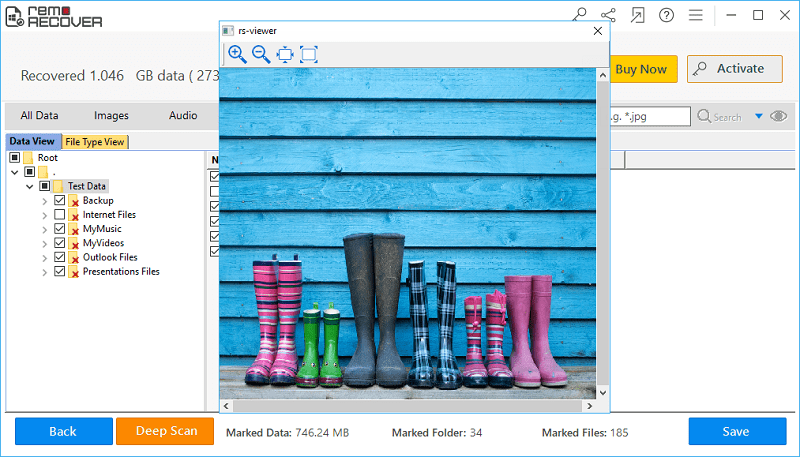
Figure 3. Select File Type
Step 4: The software scans the selected drive to find the lost data as shown in Figure 4
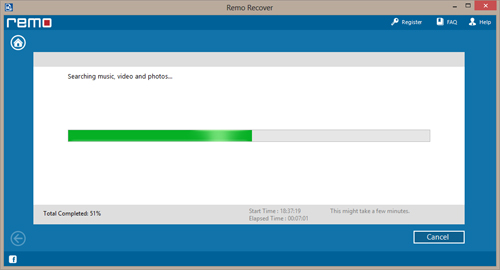
Figure 4. Scanning Process
Step 5: The recovered photos are displayed once the scanning process is finished. You can use the "Data View" or the "File Type View" option to view the recovered photos as shown in Figure 5
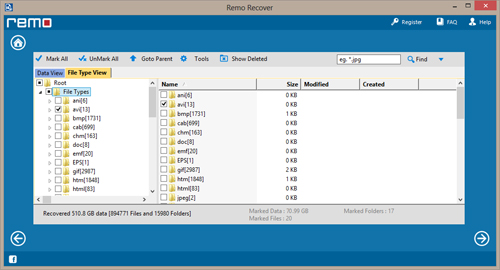
Figure 5. View recovered photos
Step 6: You preview the recovered photos by using the "Preview" option and evaluate recovery results as shown in Figure 6
Figure 6. Preview Photos

![]()
